Turning your garage into a functional workshop isn’t just about organization—it’s about creating your personal haven for creativity, problem-solving, and productivity. Whether you’re a DIYer, car enthusiast, or crafter, this step-by-step guide will help you design a space that works for YOU.
And hey, if you're shopping for workshop essentials, remember: this post contains carefully selected links to products we love. If you choose to purchase through them, we may earn a small commission at no extra cost to you.
So grab your measuring tape and let’s get started!
Step 1: Define Your Purpose

Before you even think about shelving or tools, ask yourself: What’s the main purpose of your garage workshop?
For DIYers
If you’re into home improvement, woodworking, or fixing odds and ends, you’ll need a setup with:
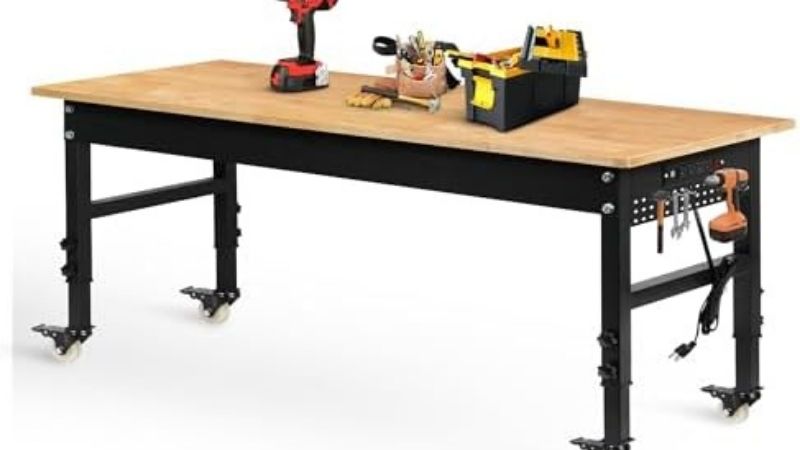
- A sturdy workbench: 👉 Check out this heavy-duty workbench with built-in storage.
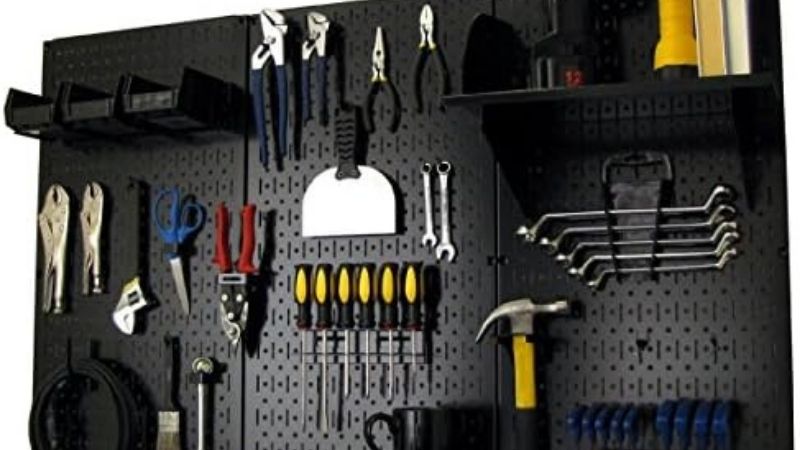
- Wall-mounted storage for tools: Keeping screwdrivers, hammers, and power tools within arm’s reach will save you from endless scavenger hunts.
- Ample lighting: Look into bright LED shop lights to illuminate your projects.
For Car Enthusiasts
Dreaming of wrenching away on your car or bike? You’ll need:
- A hydraulic car jack or lift: 👉 This car lift is perfect for DIY mechanics with enough ceiling height.
- Tool chests with wheels: Easily move your tools to the car instead of walking back and forth.
- Oil-resistant floor mats: Protect your garage floor from inevitable spills.
For Crafters
If your passion is sewing, painting, or crafting, design your workshop with:
- A crafting table with plenty of drawers
- Vertical storage for supplies: Use pegboards, bins, or clear jars to store everything from scissors to ribbons.
- A cozy chair: Don’t forget about your comfort!
Step 2: Assess Your Space
Now that you’ve nailed down your purpose, let’s size things up!
Measure Twice, Plan Once
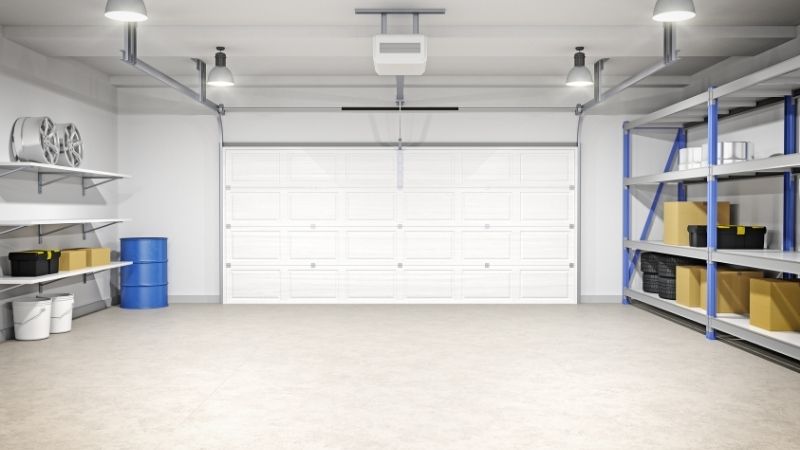
Measure your garage from wall to wall, noting ceiling height, door placements, and electrical outlets. Use masking tape to mark zones for your workbench, storage, and tools.
Pro Tip: Use garage design software or simple graph paper to sketch your layout before you start moving heavy items.
Step 3: Choose the Right Workbench

Your workbench is the centerpiece of your workshop, so make it count!
Features to Look For
- Size: Choose a bench that fits your space but still offers room to work.
- Durability: Look for materials like steel frames and hardwood tops.
- Adjustability: 👉 This adjustable-height workbench is a game-changer for ergonomic comfort.
Space-Saving Alternatives
Short on room? Try:
- Foldable workbenches: These can be stored against the wall when not in use.
- Wall-mounted drop-down tables: Perfect for occasional DIYers.
Step 4: Storage That Works for You

Wall-Mounted Storage
Keep your tools visible and accessible with pegboards, magnetic strips, and shelves.
- Pegboards: 👉 We love this customizable pegboard system for organizing everything from wrenches to crafting tools.
- Floating shelves: Great for bulky items like paint cans or storage bins.
Rolling Storage
Need flexibility? Invest in rolling carts or tool chests.
- Tool carts: 👉 This rolling tool chest keeps your essentials organized and mobile.
- Utility carts: Ideal for crafters or DIYers with lots of small supplies.
Overhead Storage
Don’t forget about your ceiling! Install overhead racks for seasonal items or infrequently used tools.
Pro Tip: Label everything! It saves time and reduces frustration.
Step 5: Lighting and Electrical Setup

Lighting Essentials
Dim garage lighting is a productivity killer. Brighten your space with:
- LED shop lights: 👉 This pack of LED shop lights is budget-friendly and super bright.
- Task lighting: Clamp-on lights or desk lamps for detailed work.
Electrical Outlets
Consider hiring an electrician to install additional outlets along your workbench area. Extension cords can be tripping hazards, so minimize their use.
Step 6: Flooring Options
The garage floor often gets overlooked, but a well-prepped floor can make your workshop safer and more comfortable.
Flooring Ideas
- Epoxy Coating: Durable, easy to clean, and resistant to oil and chemicals.
- Interlocking Rubber Mats: 👉 These cushioned mats reduce fatigue and protect your floor.
- Paint with Non-Slip Additive: A budget-friendly option for better grip.
Step 7: Optimize Your Layout
Zoning Your Space
Divide your garage into functional zones:
- Work Zone: Your workbench and tools.
- Storage Zone: Shelving, cabinets, and bins.
- Vehicle Zone: For car enthusiasts, leave space to open car doors and maneuver around.
Keep Traffic Flow in Mind
Position frequently used tools and equipment so they’re easy to access. For example:
- Place the most-used tools on the pegboard right above your workbench.
- Store seasonal or rarely-used items higher up or further back.
Step 8: Add Personal Touches
Your garage workshop should inspire you! Add a dash of personality with:
- Posters, signs, or decals: Show off your love for cars, crafting, or DIY culture.
- A mini-fridge: Keep drinks or snacks handy for those long work sessions.
- A Bluetooth speaker: Groove to your favorite tunes while you work.
Step 9: Safety First

Safety Must-Haves
Every workshop should include:
- Fire Extinguisher: Keep one rated for electrical and chemical fires.
- First Aid Kit: 👉 This compact kit has everything you need for minor injuries.
- Safety Gear: Goggles, gloves, and ear protection are non-negotiable.
Examples of Workshop Layouts
The DIYer’s Dream Workshop
- Central Workbench: Sturdy and spacious for all your projects.
- Tool Wall: Pegboard with labeled hooks for tools.
- Storage Shelves: For paint, screws, and power tool cases.
The Car Enthusiast’s Garage
- Open Floor Space: Enough room to park and work on your car.
- Rolling Tool Chest: Moves with you as you work.
- Oil Drain Pan and Lift: For easy car maintenance.
The Crafter’s Paradise
- Crafting Table: Foldable or expandable for large projects.
- Pegboard Wall: For ribbons, scissors, and brushes.
- Supply Bins: Transparent for quick access to materials.
Wrapping It Up
Designing the perfect garage workshop layout isn’t just about function—it’s about creating a space that energizes and inspires you. Whether you’re fixing up your car, building furniture, or crafting holiday decorations, the right setup makes all the difference.
For more tips, tricks, and inspiration, follow Decormate on Pinterest, and explore our latest blogs for more ideas!