Creating the ultimate garage workshop is an exciting project, whether you're a DIY enthusiast, a woodworking wizard, or just someone who loves tinkering. But as exciting as it may be, it’s all too easy to make layout mistakes that can turn your dream workshop into a chaotic, frustrating space. From poor lighting to bad tool placement, these common errors can slow you down, create safety hazards, and make your projects far less enjoyable.
Let’s dive into some of the biggest garage workshop layout mistakes you need to avoid—and how to fix them! Trust me, by the end of this blog, you'll be ready to design the workshop of your dreams.
This post contains carefully selected links to products we love. If you choose to purchase through them, we may earn a small commission at no extra cost to you.
1. Poor Lighting: Don’t Work in the Dark

A dimly lit garage workshop is a disaster waiting to happen. Without proper lighting, you risk making errors in your projects, straining your eyes, and even injuring yourself. Overhead lighting alone often isn't enough, and relying on that one sad bulb in the middle of the ceiling is definitely a no-go.
Fix It: Layered Lighting to the Rescue
- Overhead Lights: Install bright LED fixtures for general lighting. LED lights are energy-efficient and provide bright, even illumination.
👉We recommend these ultra-bright LED ceiling lights for garages—they're easy to install and last forever! - Task Lighting: Place focused lighting at your workbench and other high-use areas. Clamp lights or swing-arm lamps work great for this.
👉 Check out this adjustable task light for precision-focused illumination. - Ambient Lighting: Add softer lights around the workshop for a more comfortable vibe.
Pro Tip: Don’t forget about natural light! If your garage has windows, maximize the daylight by keeping them clean and using sheer curtains or blinds.
2. Bad Tool Placement: Where Did That Wrench Go?
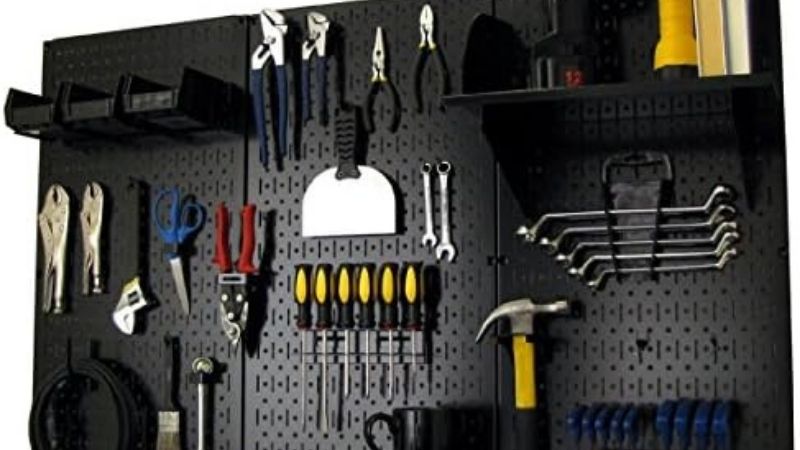
Ever found yourself hunting for a tool mid-project and losing your momentum? That’s a clear sign your tool placement strategy needs work. A disorganized workspace where tools are scattered haphazardly wastes time and increases frustration.
Fix It: Create Zones
- Dedicated Tool Zones: Group your tools by function—power tools in one zone, hand tools in another, and so on.
- Pegboards Are Your Best Friend: Use a pegboard to hang commonly used tools at eye level for quick access.
👉 This heavy-duty pegboard system is customizable and perfect for keeping your tools organized. - Drawer Dividers: For smaller tools like screwdrivers, wrenches, and pliers, invest in drawer organizers to keep everything in its place.
👉 We love this drawer organizer set for its versatility and sturdy build.
Pro Tip: Outline your tools on the pegboard with a marker, so you’ll always know where they belong.
3. Inadequate Ventilation: Don’t Suffocate in Sawdust

Garages can quickly turn into stuffy, dusty spaces, especially if you're working with power tools that generate sawdust or fumes. Poor ventilation is not only uncomfortable but also a health hazard.
Fix It: Breathe Easy
- Install Exhaust Fans: A wall-mounted exhaust fan can help circulate air and remove fumes.
👉 This powerful garage exhaust fan is a lifesaver for keeping your workspace fresh. - Portable Air Purifiers: If installing a fan isn’t an option, invest in a portable air purifier to filter out dust and particles.
👉 Check out this high-performance air purifier designed for workshops. - Open the Door: If possible, keep the garage door partially open while working to allow fresh air to flow in.
Pro Tip: For woodworking enthusiasts, a dust collection system is a must to keep sawdust under control.
4. Skipping Storage Solutions: Piles Aren’t Practical
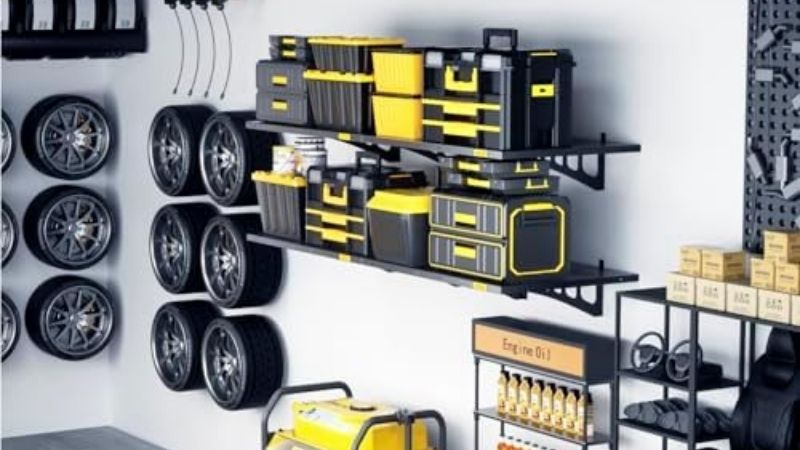
A cluttered garage workshop isn't just ugly—it’s inefficient and potentially dangerous. Skipping proper storage solutions often leads to tools and materials piling up in random corners, which can make even the simplest projects a hassle.
Fix It: Smart Storage for Maximum Space
- Wall-Mounted Shelves: Free up floor space by installing sturdy shelves along your garage walls.
👉 These heavy-duty garage shelves are perfect for storing tools, paint cans, and more. - Rolling Tool Carts: For mobility, consider a rolling tool cart that can follow you around the workshop.
👉 We highly recommend this rolling tool cart for its durability and convenience. - Magnetic Strips: Keep metal tools like screwdrivers and wrenches easily accessible with magnetic strips.
👉 This magnetic strip set is a simple yet effective way to organize your tools.
Pro Tip: Label everything! Use clear bins and labels so you can quickly find what you need.
5. Forgetting About Workbench Height: Comfort Matters
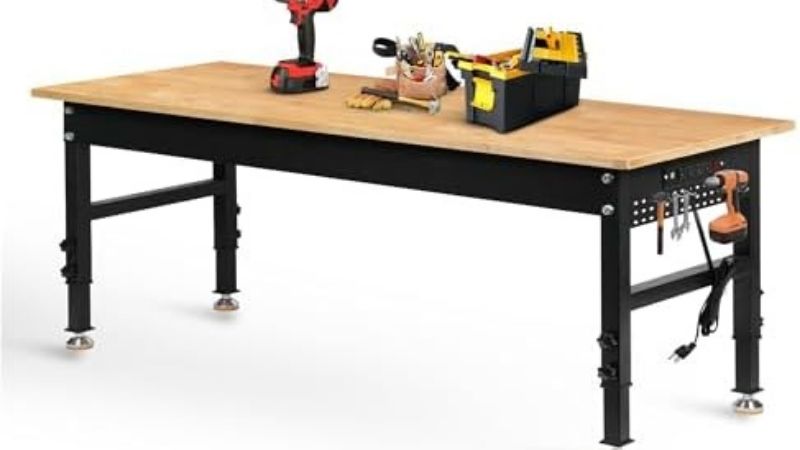
A workbench that’s too high or too low will wreak havoc on your back and neck. Comfort is key when spending hours working on your projects.
Fix It: Measure Twice, Build Once
- Adjustable Workbenches: Opt for a height-adjustable workbench that you can customize to your needs.
👉 This adjustable workbench is ergonomic and perfect for DIYers. - Ergonomic Stool: If you plan to sit while working, invest in a height-adjustable stool for extra comfort.
👉 We recommend this padded workshop stool for its excellent support.
Pro Tip: A standard workbench height is around 34 inches, but adjust based on your height and the type of work you do.
6. Ignoring Power Outlets: Extension Cord Chaos

Stringing extension cords across your garage isn’t just messy—it’s a tripping hazard. Ignoring power outlet placement can make using your tools a constant battle.
Fix It: Power Up Wisely
- Add More Outlets: Install outlets along the walls at workbench height for easy access.
- Use Power Strips: For flexibility, mount power strips with surge protection near your work zones.
👉 This heavy-duty surge protector power strip is ideal for workshops. - Cable Management: Use cable clips or tubing to keep cords organized and out of the way.
Pro Tip: Avoid overloading circuits! Spread out high-power tools across multiple outlets.
7. Overlooking Safety: A Risky Business

A garage workshop can be full of potential hazards, from sharp tools to flammable materials. Safety should always be a top priority.
Fix It: Gear Up for Safety
- Fire Extinguishers: Keep a fire extinguisher nearby and make sure it’s rated for electrical and flammable fires.
👉 This compact fire extinguisher is a must-have for workshops. - First Aid Kit: Accidents happen, so be prepared with a stocked first aid kit.
👉 We love this comprehensive first aid kit for its wide range of supplies. - Safety Gear: Always wear safety goggles, gloves, and hearing protection when working with tools.
Pro Tip: Keep a clear path to the garage door in case of an emergency.
8. Neglecting Workflow: Efficiency Is Key
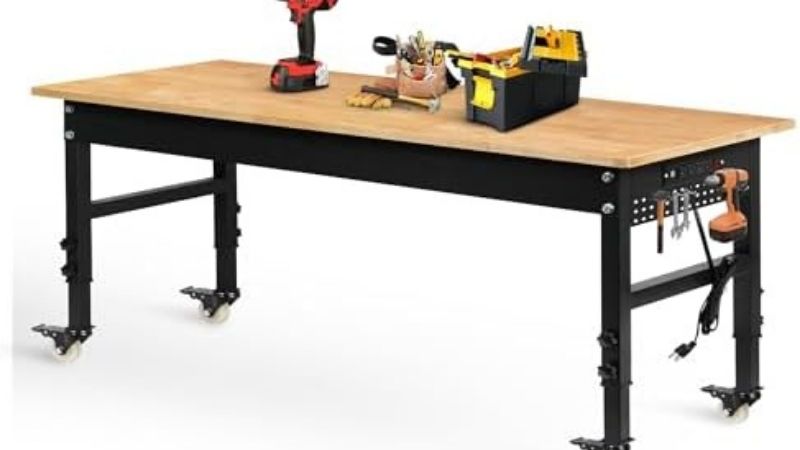
Your workshop layout should flow seamlessly, allowing you to move easily between tasks. A disjointed layout will slow you down and make even simple projects feel cumbersome.
Fix It: Think Like an Assembly Line
- The Triangle Rule: Arrange your workbench, tool storage, and materials in a triangular layout for efficiency.
- Mobile Stations: Use rolling carts or mobile workstations for tasks that require flexibility.
👉 This mobile workstation is a game-changer for multi-tasking. - Plan Before You Build: Sketch out your ideal layout before committing to any changes.
Pro Tip: Test your layout by walking through a typical project step-by-step.
9. Overcrowding the Space: Less Is More
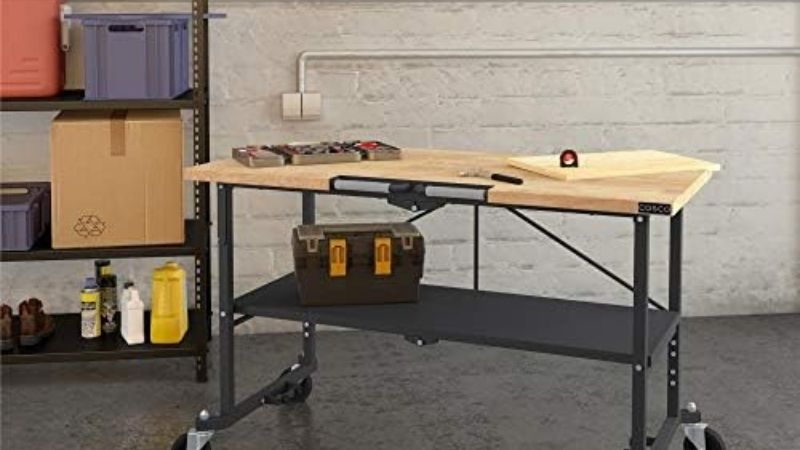
It’s tempting to pack your workshop with every tool and gadget imaginable, but overcrowding will make it feel cramped and unworkable.
Fix It: Prioritize and Declutter
- Essential Tools Only: Focus on tools you actually use and consider renting specialty tools.
- Compact Storage: Look for foldable or stackable options to save space.
👉 This foldable workbench is perfect for small garages. - Regular Cleanouts: Periodically go through your workshop and get rid of items you no longer need.
Pro Tip: Keep open floor space for large projects or maneuvering heavy equipment.
Wrapping It Up
Your garage workshop has the potential to be your ultimate creative haven—but only if you avoid these common layout mistakes. From improving lighting to organizing tools and ensuring proper ventilation, a little planning goes a long way in creating a space that’s safe, efficient, and enjoyable.
Remember, designing your perfect workshop is all about making it work for you. Take your time, plan thoughtfully, and don’t be afraid to tweak as you go.
For more tips, tricks, and inspiration, follow Decormate on Pinterest, and don’t forget to explore our latest blogs for even more home improvement ideas!